By Yolan
Greetings OGGers!
I want to share my latest project with you all. There's been a bit of a lull in our postings. Much has kept us occupied lately and as I type this, I am out of state visiting with family for the Thanksgiving holiday. So, no building is happening right now. But it's really been a huge blessing spending time with loved ones. This is my second Thanksgiving without my mom and were it not for the support of family and friends, this would be a very difficult time of year. But, God has been very merciful. Even through the trials.
So along with Thanksgiving comes food. Lots and lots of it which leads into my latest project. Over the summer, I ventured into the arena of gardening and I have to say, I really, really love it! Aside from the sense of satisfaction that comes from growing your own food, there is the added benefit of saving money as a result.
If you've not tried it, please do. I highly recommend it and with the way that things are heading with our food supply, it will become a necessity. The proverbial handwriting is on the wall. My goal is to never have to set foot in a grocery store again. I'm definitely not a gardener but I had a fair amount of success as a novice. I used the Mittleider method which was very helpful to say the least.
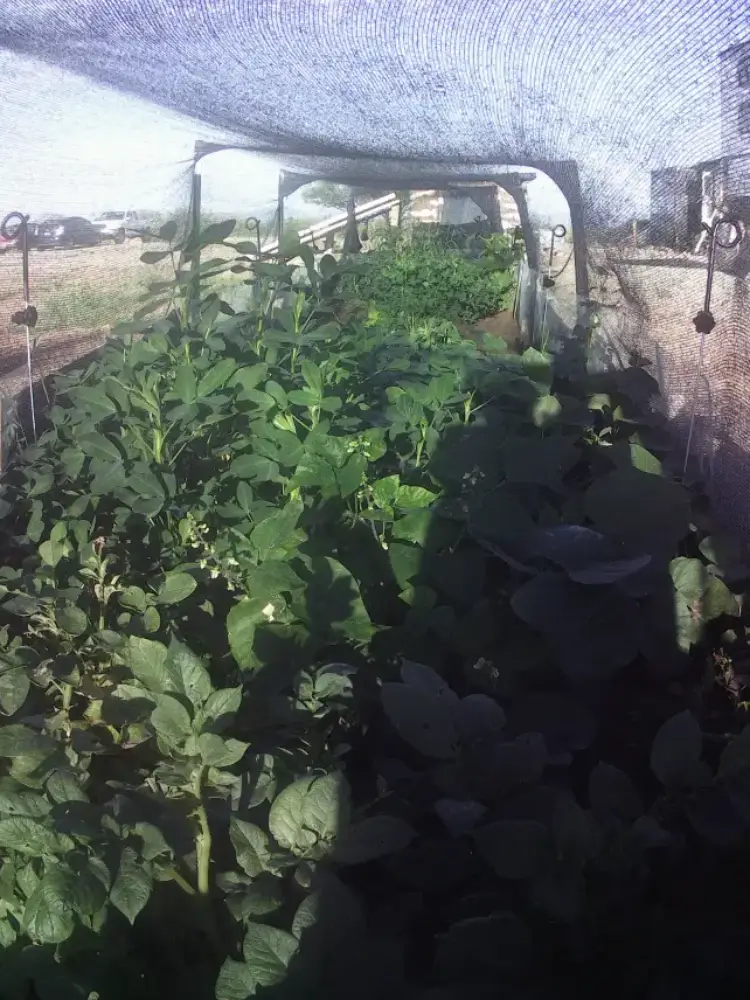
My Mittleider Garden. I covered the whole thing with shade cloth.
It helped quite a bit to keep some critters and insects out.
But ... I was so focused on growing stuff that I didn't really think as much as I should've about the harvest and what to do with it when that time came. I live in a travel trailer (until I complete my earthbag home build that is) and have limited space. So that presented a quandry for the exhuberantly abundant harvest that I envisioned. Granted, it wasn't nearly as bountiful as my sometimes overactive imagination contemplated, but I did have one and I understand better now the importance of adequate and effective food storage.
So ... to address this issue for future harvests, I decided to build a root cellar!
Yeah. For real.
Now bear in mind, this is not your typical completely buried, stone-encased, hand-dug cavern from the 19th century. I just didn't have time to whip that up in a jiffy. I'm still trying to build a house you know. Soooooo ... as the title reveals, this is a much simpler, quicker, and more modern method yet still effective.
Things you'll need: 3 steel cans with lids, a shovel, plywood, scrapwood, roofing screws, 6-inch deck screws, scrap insulation material, straw, sandbags, and lots of dirt.
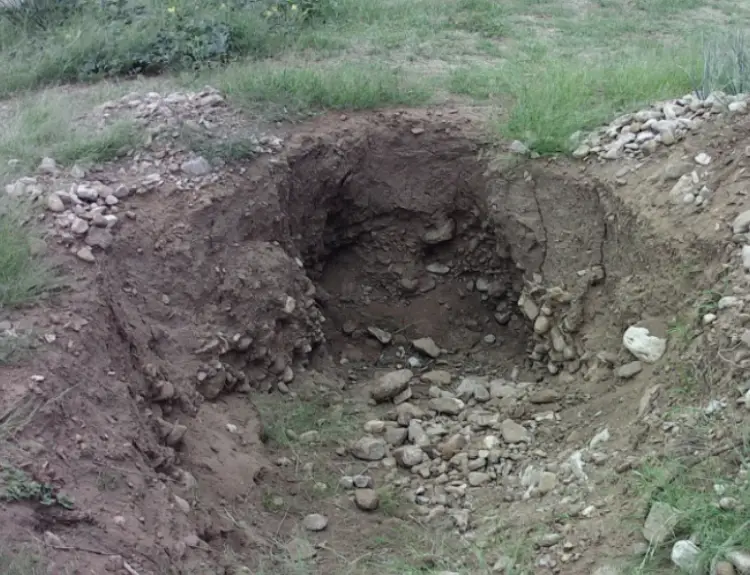
Step #1: Dig a big hole
You'll need the hole to be as deep as the can. Just primarily the lid should be above ground. Make it as wide as the space needed for the cans to sit side-by-side and still be able to remove the lids easily. I was fortunate enough to already have a hole like this on my property.
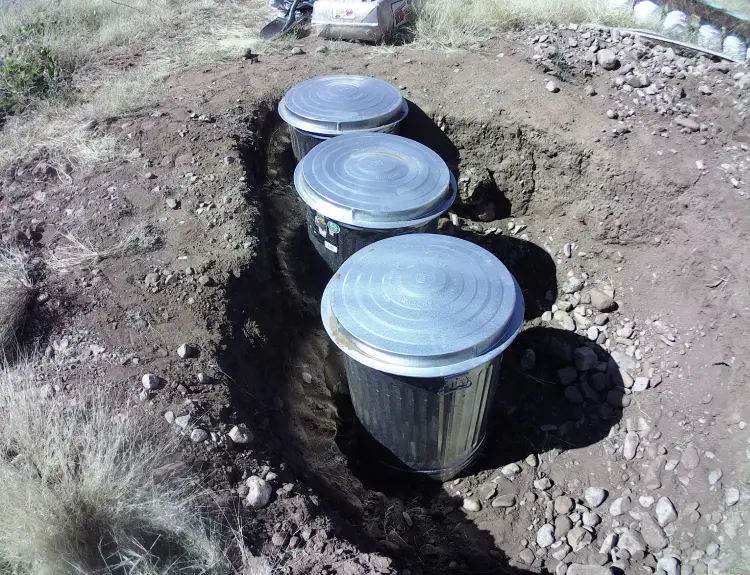
Step #2 - Place the cans in the hole and fill it up
You would think filling a hole wouldn't be that hard but this actually took a fair amount of time and effort. Definitely longer than I thought, but I enjoyed the physical labor so it was all good.
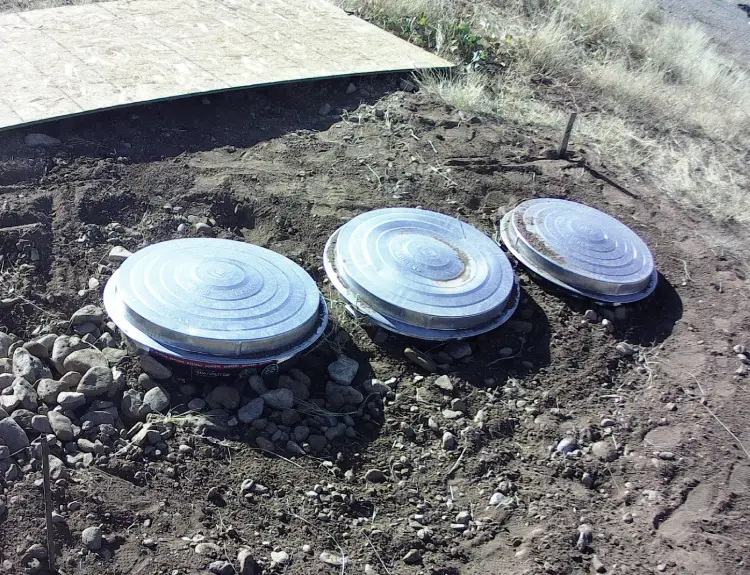
Step #3 - Build a low earthbag wall around the buried cans
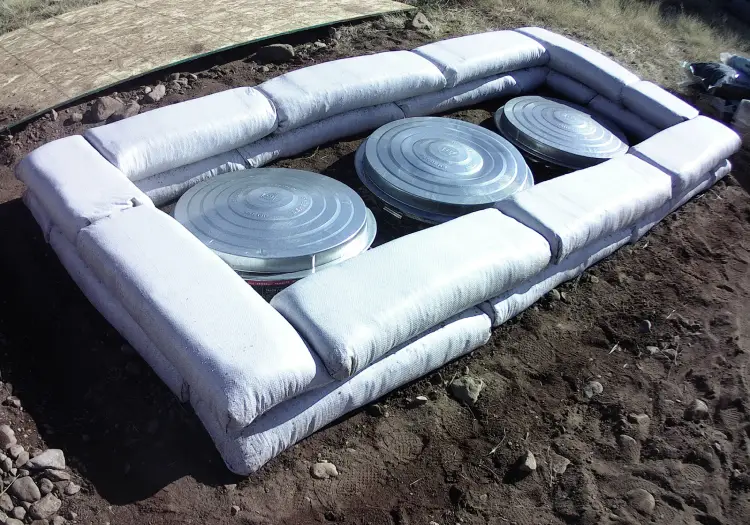
I did this because I wanted the cans to be protected from the elements as well as curious animals. Also I used a different sized earthbag than I've used before. They are the 12 in x 38 in tube sandbags that I got from SandBaggy.com. They worked really well for this application but can be quite heavy when filled. Next time I will fill them in place. I only needed to do two courses and it came out to about ten and a half inches high.
I also plastered the finished wall. Remember, the bags will breakdown in extended sun exposure. Plastering the outside protects against that. I didn't plaster the inside though because its not needed. Much like my mini-shed.
I also plastered the finished wall. Remember, the bags will breakdown in extended sun exposure. Plastering the outside protects against that. I didn't plaster the inside though because its not needed. Much like my mini-shed.
Get 5% off your next sandbag purchase from SandBaggy.com by using coupon code: OGGirls
Step #4 - Put a wooden beam around the top
I did this because I didn't want the lid to the root cellar to slide back and forth over the bags.
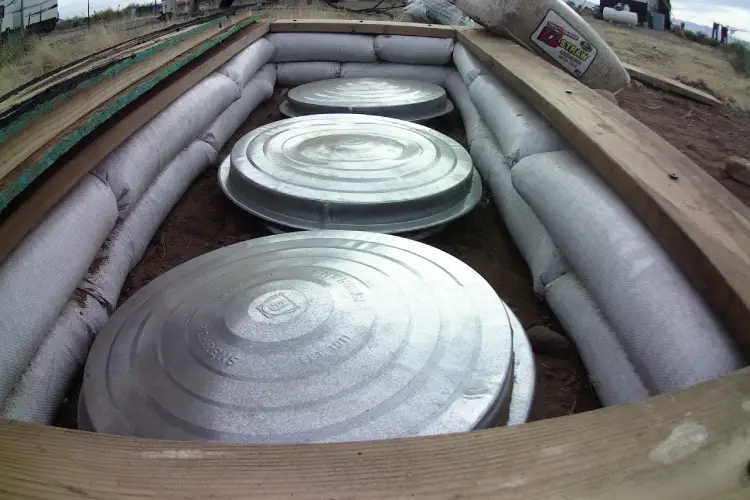
Step #5 - Build an insulated lid
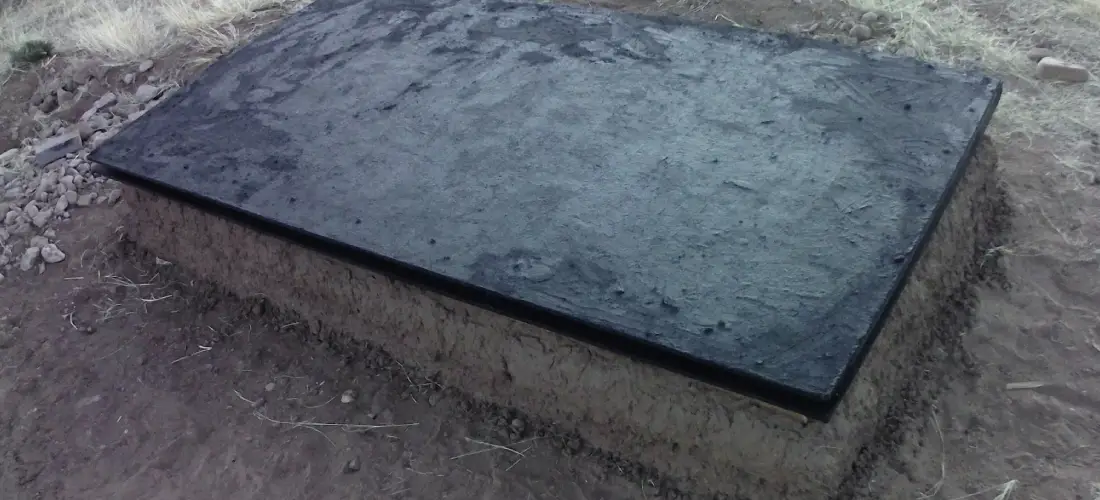
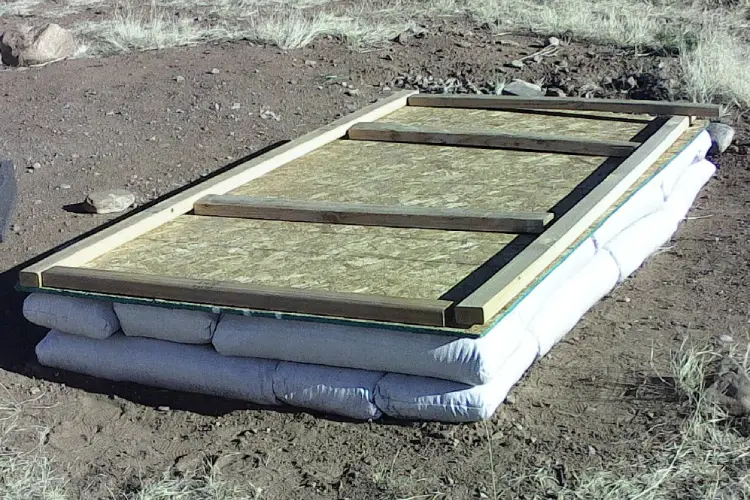
I used scraps for the insulating materials. Some old foam from my trailer and also packing foam that came with some electrical equipment that I'd purchased (that's the black material in the picture).I used roofing screws to attach the top OSB and then I painted on emulsified asphalt to tar it over giving it more protection from the elements.
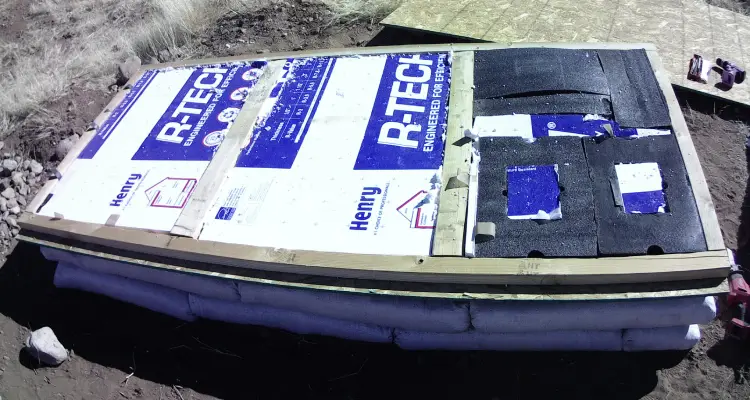
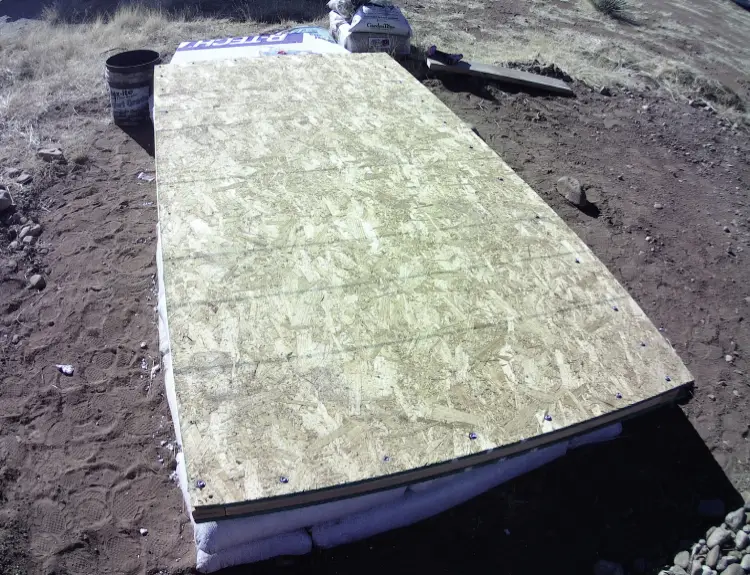
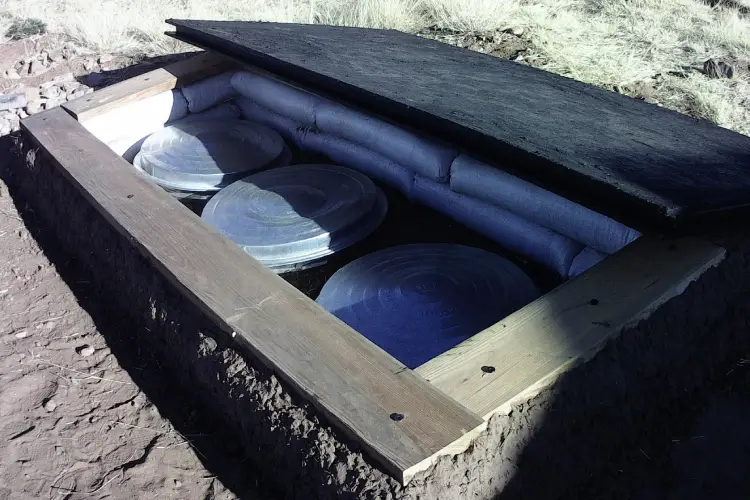
Step #7 - Store produce!
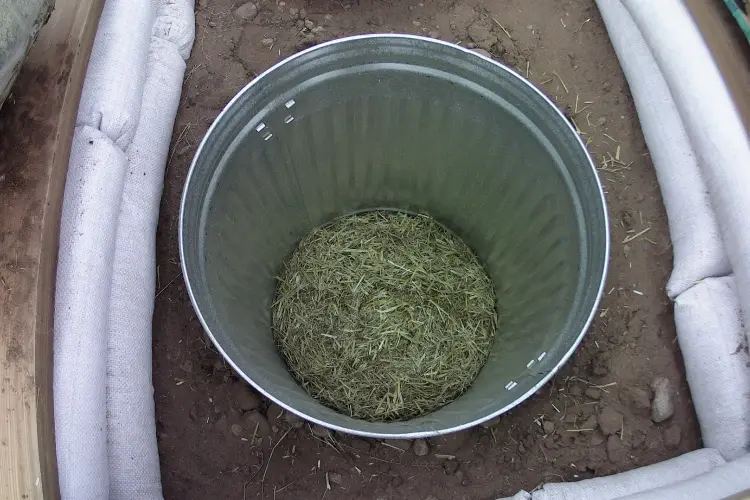
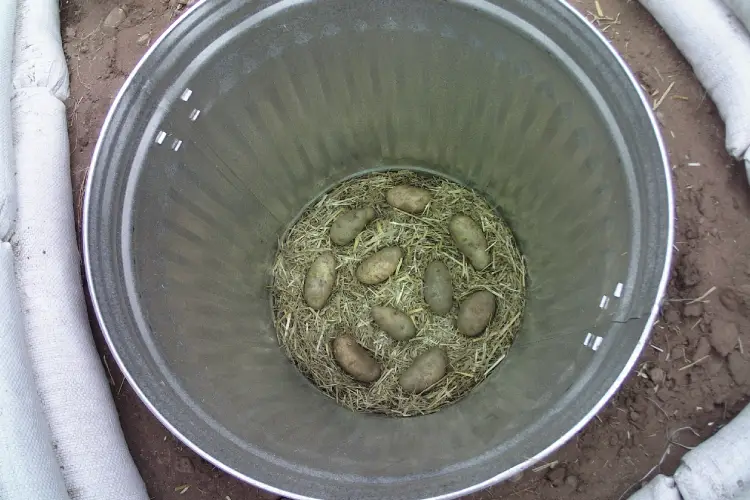
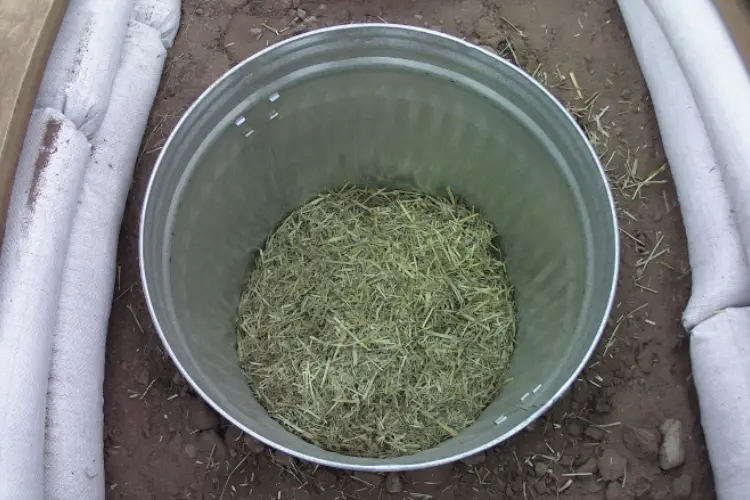
This is where the straw comes in. It acts as an insulator. I put some down in the empty can. Then I put some potatoes over that, followed by another layer of straw. I made sure that the produce didn't touch. I think this is in case one rots it won't immediately affect the others.
Then you just keep layering like this with straw in between each layer of produce. That's it!
Then you just keep layering like this with straw in between each layer of produce. That's it!
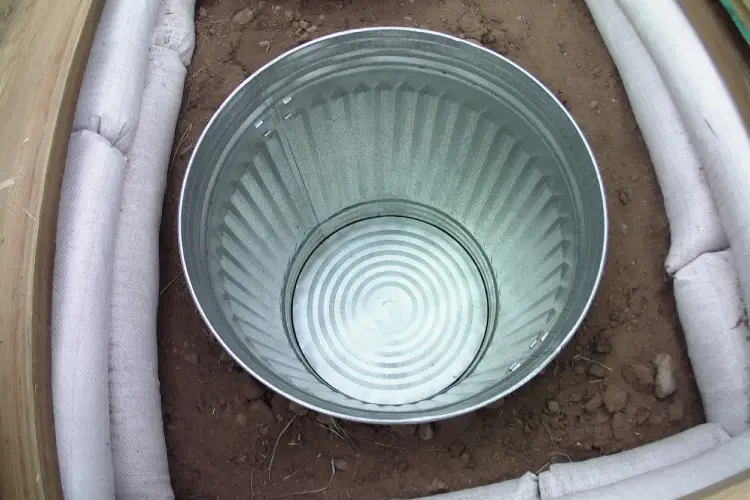
Would this really only take 3 days for one person?
Honestly, I don't think that it would even take that long. But it does vary depending upon age, strength, and ability. So take that timeframe with a grain of salt. I'm not quite sure how long it took me because I worked on it over time as my schedule permitted. Really, the hardest part of this is digging the hole. If you had to dig or fill it by hand in rocky soil like ours, then add an extra day.
Things to consider
Some suggest drilling holes in the bottom of the cans and putting a vent on the top so that hot air can escape. I opted to skip these things. I feel like adding holes to it would just make it easier for something to get into it that I don't want. And I'm not super concerned about heat build up as having it underground should mitigate that, plus the earthbag walls have the thermal effect, and also the insulated lid should help as well. But having said all that, I'll admit that it's highly possible that I don't have a clue what I'm talking about. This is my first root cellar build after all.
One of the downsides of this design is that its hard to rotate older stuff out. For example, once the cans are filled, in order to get to the items at the bottom, I would have to empty it. This is where a walk-in root cellar would be more practical. But that would have taken far longer to build than I had time for. If you need something quick, fast, and in a hurry, this is the way to go. The inconvenience can be tolerated for the benefits gained.
I can't tell you yet how effective this is, but from various YouTube videos that I've seen, this method appears to be more than adequate. I'll try and post an update in the spring though :-)
God's blessings to you and Happy Harvesting!!!!
Resources
Here are several YouTube videos showcasing others who have tried this method successfully: