By Yolan
Step #1: Level the area
You know, building with earth is so easy. I just love it! It's an affordable, durable, and very forgiving building technique. You don't have to be a rocket scientist for this. It's easy peasy lemon squeezy. So let's get to it. First things first ... pinpoint where you're going to build and level the area. This is easy enough to do using a shovel and a level.
Step #2: Mix some dirt and fill some bags
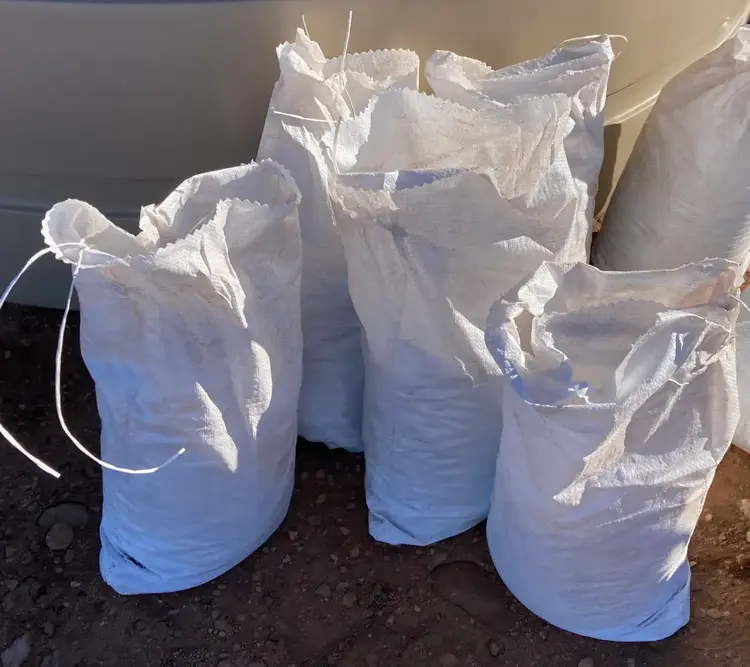
Ok, so we used 14x26 sized bags for this. Generally 18x30 is recommended but seeing that this is very small structure that no one will live in, 14x26 seemed sufficient. Also these sized bags are much lighter and easier to work with. We filled them with dirt from our property sifted of the larger rocks. Generally, you mix the dirt with enough water to make it clump without being drippy and soggy and then place it into the bags. Again, seeing that no one will be living in this structure and its small size, we used the dampening method instead. This is where you fill the bags with the dry (or damp) earth, place them, and then water the bags. I saw it demonstrated in this youtube video and thought I'd give it a try to speed things up. I will not be using this technique for my home build though.
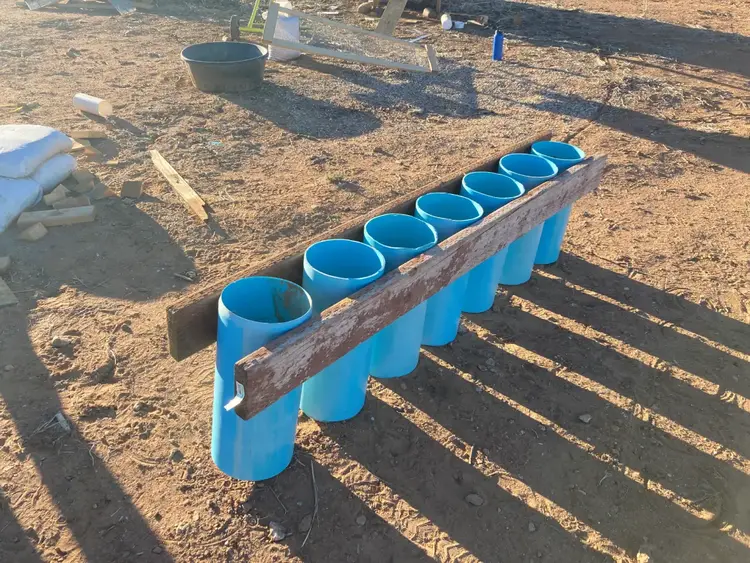
We made this contraption to help us to fill bags quicker. It really works and is very easy to make! We got the idea from this youtube video.
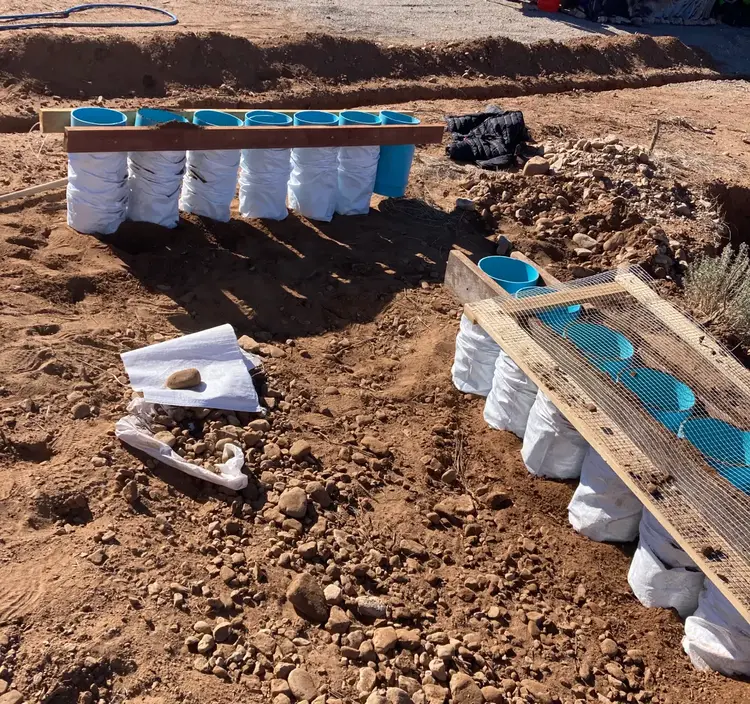
Get 5% off your next sandbag purchase from SandBaggy.com by using coupon code: OGGirls
Step #3: Place and tamp, tamp, tamp away!
After you have your bags filled, then lay them in the shape that you desire butted up against each other. For closing the bags, I just folded the edges in and then folded the flap down and layed the bag so that the flap is under it. You would have to have a gravity-failure for these to come open. When you lay the next bag, you butt it up against the previous one. When you have the full course (layer of bags) laid, then tamp them all down. Use a level after tamping down each course to make sure that all is straight.
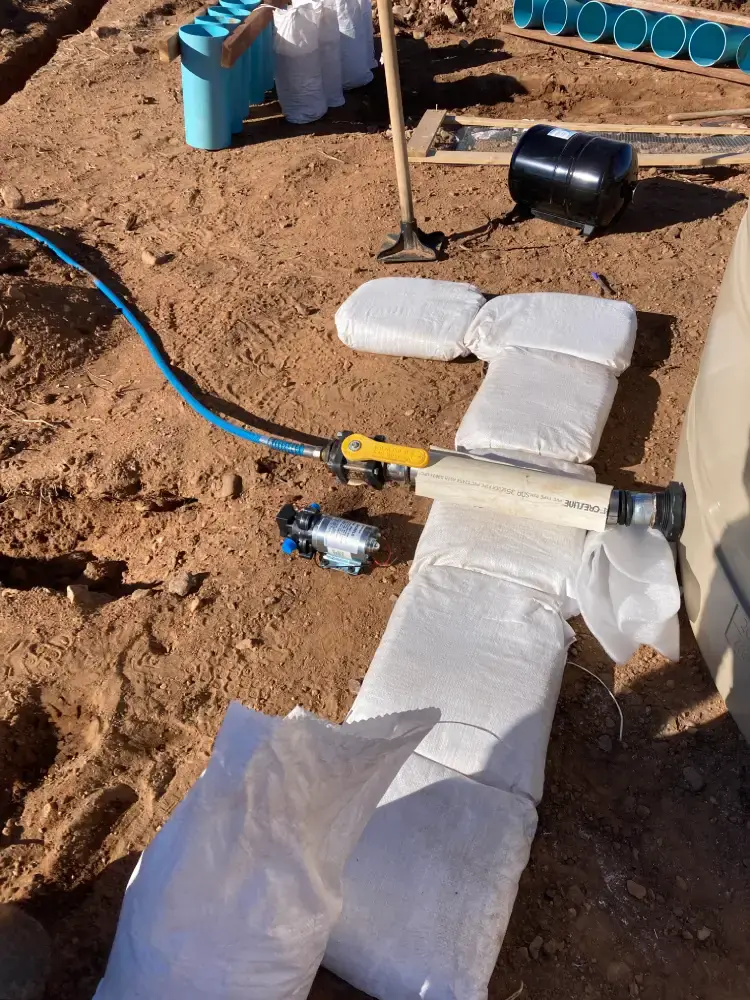
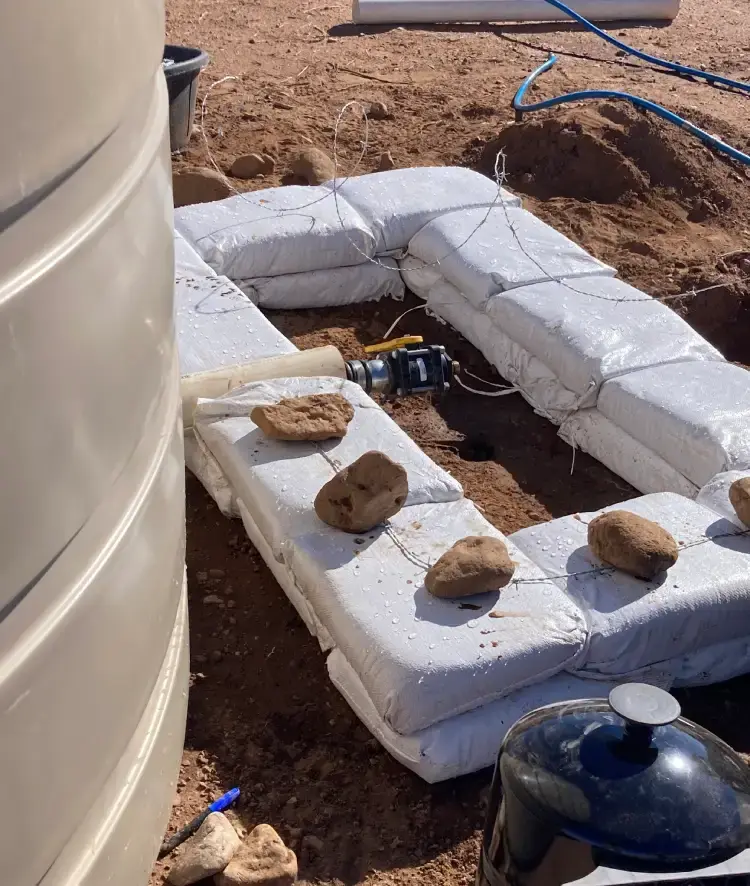
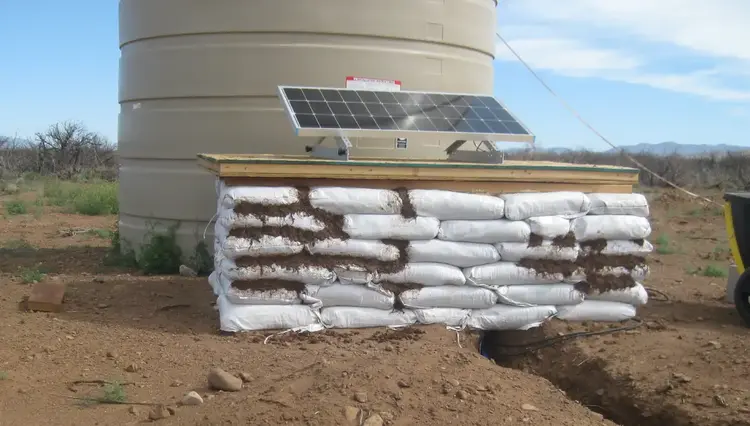
If you look closely at the picture above, you'll see a PVC pipe laid across the bag in the rear. Seeing that it is a pumphouse, I have to be able to allow a water line into it and also one leaving it. The water line in, is coming from behind it and is a large valve coming from the water storage tank. Now I didn't want to put earthbags directly around this because, what if I had to change it one day? I need to be able to get to it without having to damage the structure itself. So I took a 4" PVC pipe, cut it in half length-wise using a multi-tool, and placed it between a course of bags and put it around the valve. I then foamed the openings to keep rodents and critters out. But if I ever need to change this out, I can get to it. Granted it won't be easy, but it is accessible. The water line out will go underneath the pumphouse so no special finagling there.
Step #4: Barb It!
With earthbag building, you place barbed-wire in between each course of bags. You want the kind with 4 barbs and you generally put two strands. For this structure, we just used one. For a bigger structure, we would of course use two.
Step #5: Wash, Rinse, Repeat!
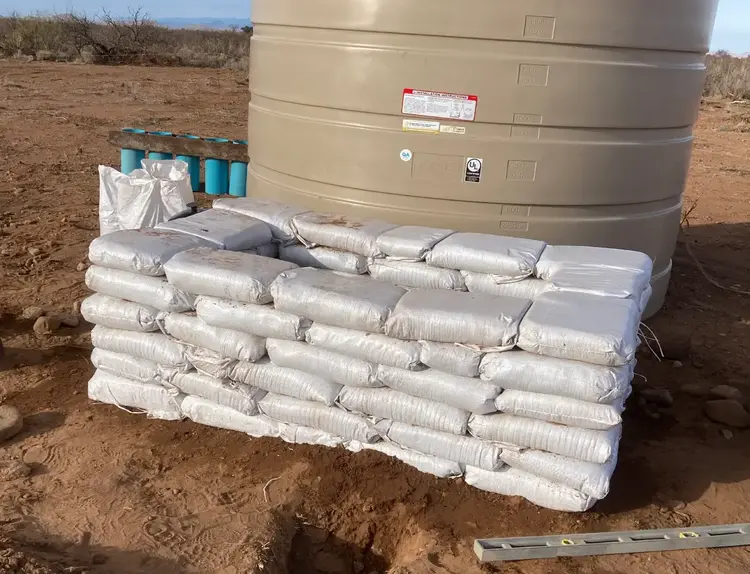
Soooo ... ya. That's about it. Super hard ya? You just keep doing this until you've reached the height that you want your structure to be.
Step #6: Bond Beam-ish?
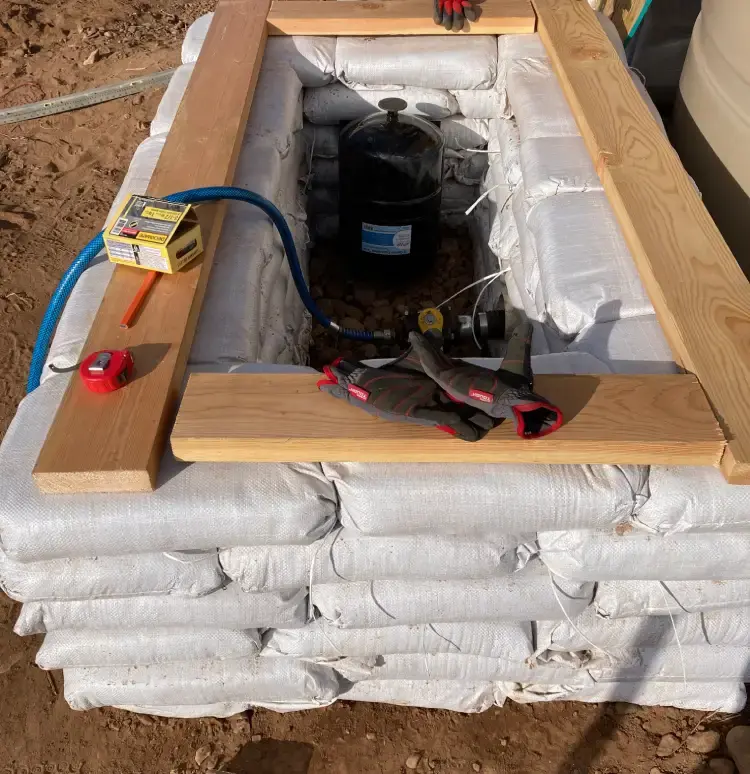
I'm new at this and was wondering how I was going to attach the lid to the pumphouse. I had read about and saw some videos on bond beams and thought that maybe something like that would work for this. So I just used some 2x6's with 6-inch nails and drove them directly into the bags. I'm not saying that this is the best way to do this but for my purposes, its worked out fine.
Step #7: The Lid
My original thoughts on my lid was to attach it to the bond beam and lift it whenever I needed to get in for maintenance purposes and such. But since I decided to insulate my lid (as you'll see below) it wound up being quite heavy. So I decided instead to leave it unattached from the bond beam and slide it on and off. I'm glad the bond beam is there though because I would not want to have that sliding activity happening directly on the bags.
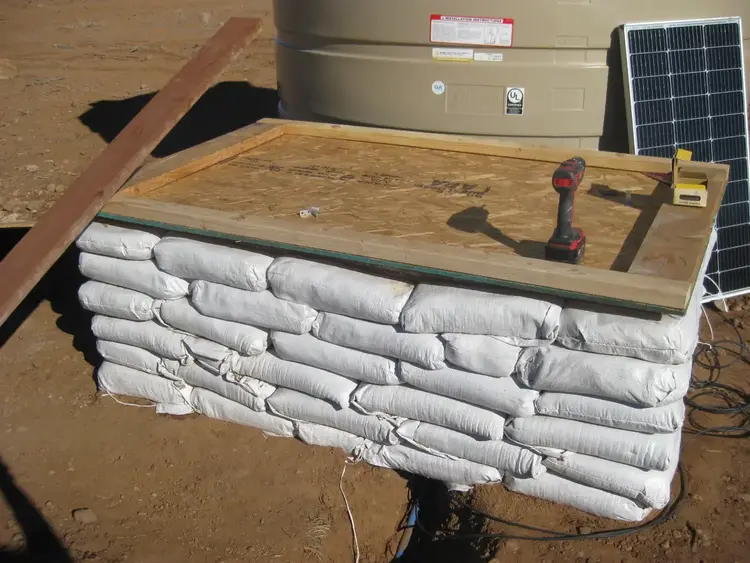
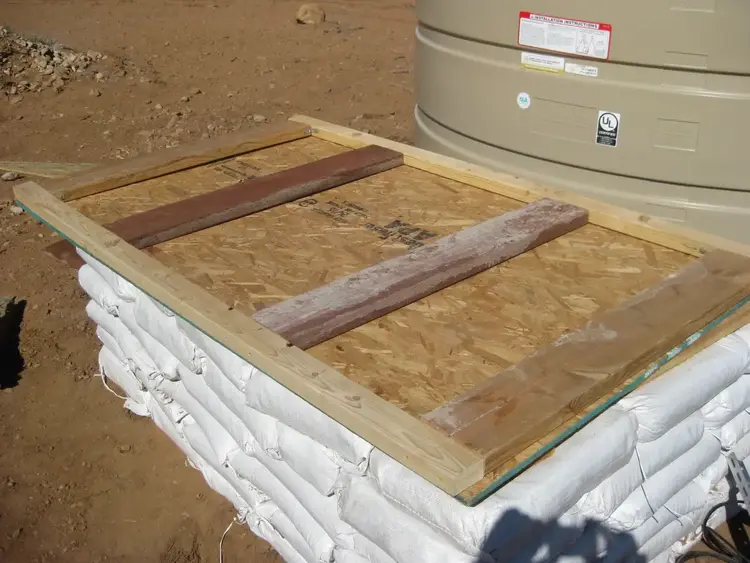
I used scrap wood for some of the framing.
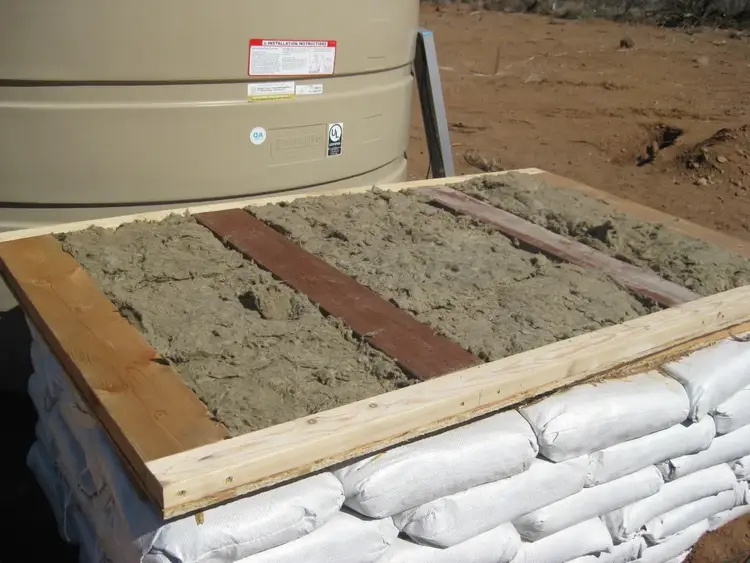
We had some leftover insulation which I used.
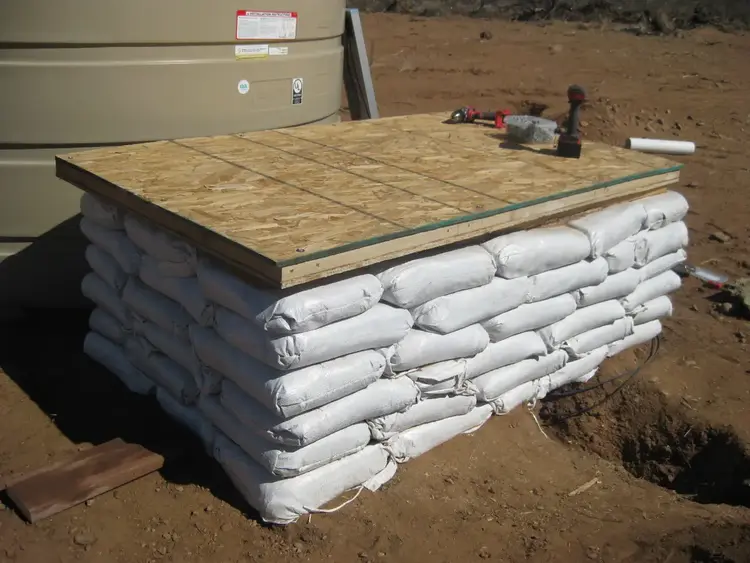
Step #8: Attach the Solar Panel
I purchased a mounting bracket set for the solar panel and used roofing screws to attach them. Its important to use roofing screws because they have seals to keep water from leaking into the structure.
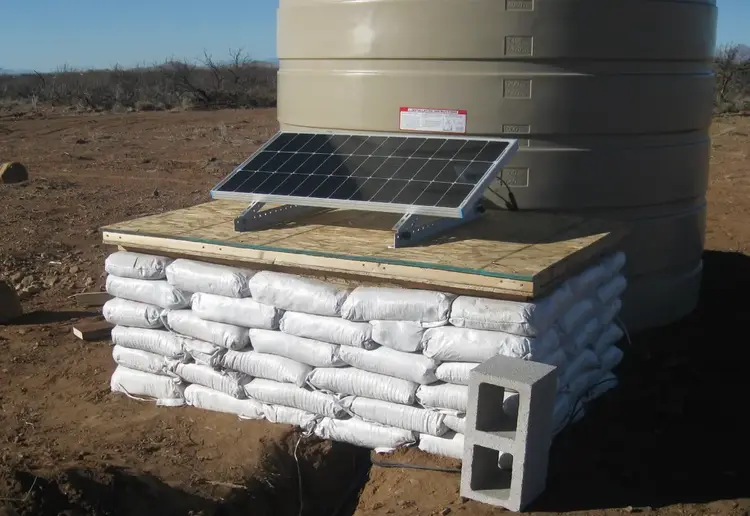
Step #9: Mix the Plaster
The plaster that I used is made from dirt and straw from the property mixed with a little water. I sifted out the larger rocks using a sifter that I made from 1/2 mesh.
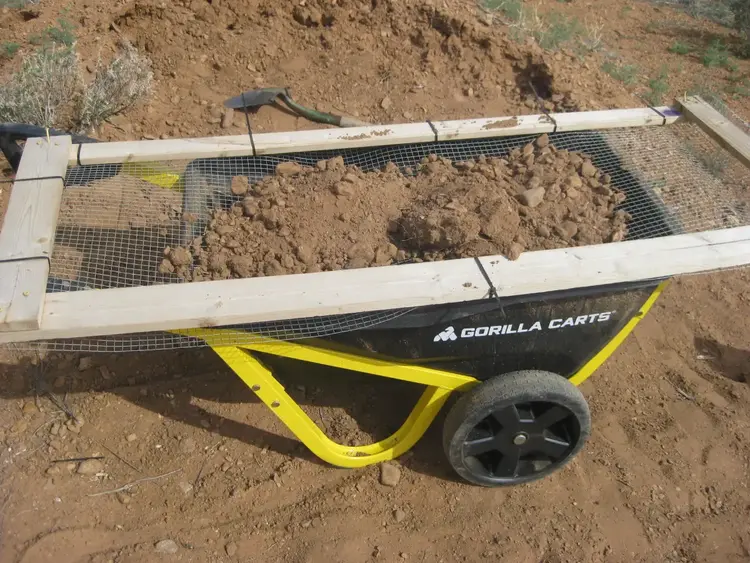
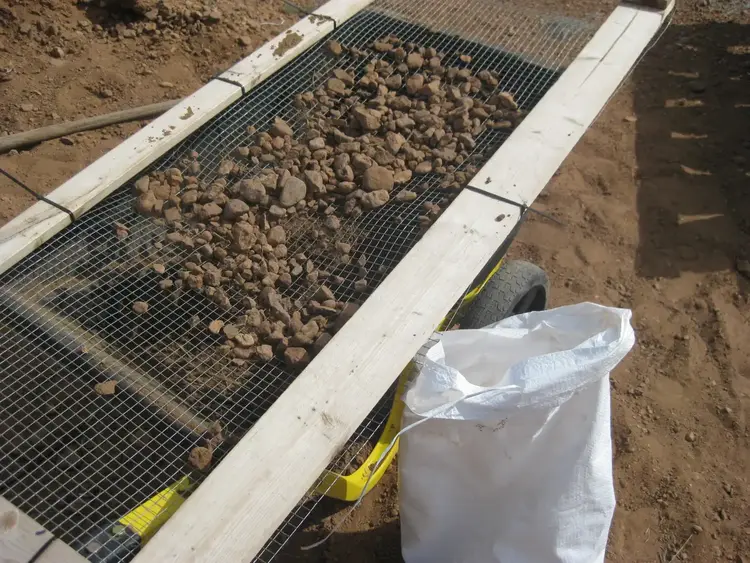
I keep the rocks that are sifted out and use them for gravel for a different project.
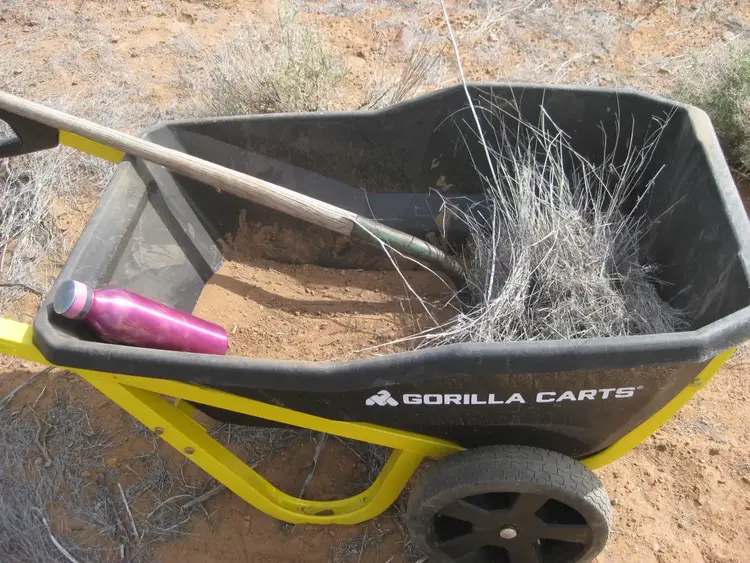
I broke up the straw before mixing it.
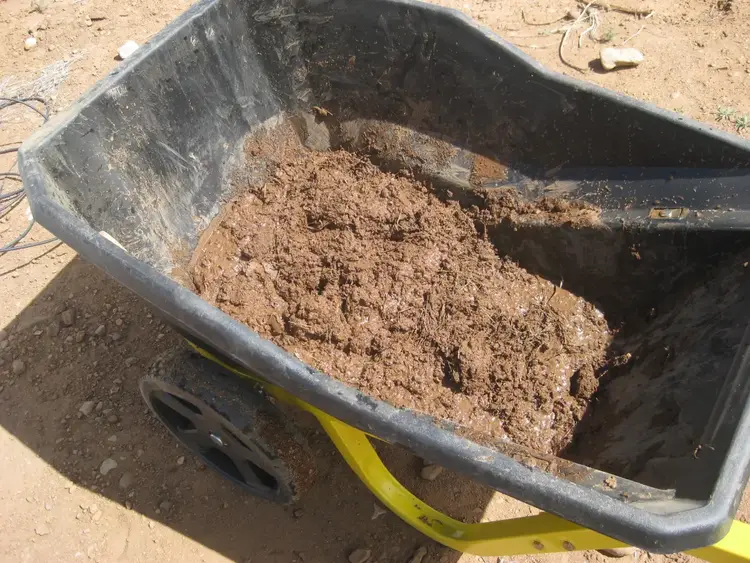
As far as how much water to mix it with, I kind of played it by ear. I didn't want it soupy but at the right consistency to stick to the bags.
Step #10: Apply the Plaster
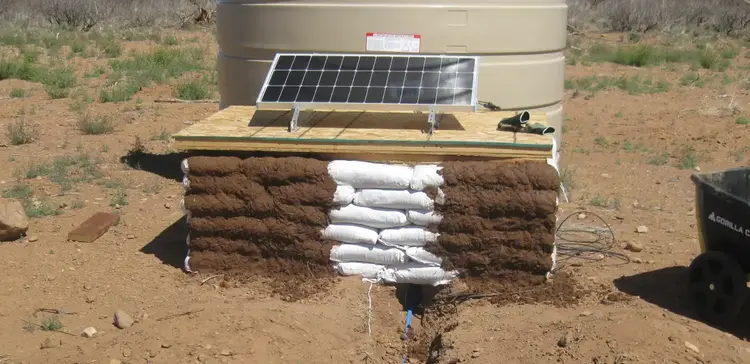
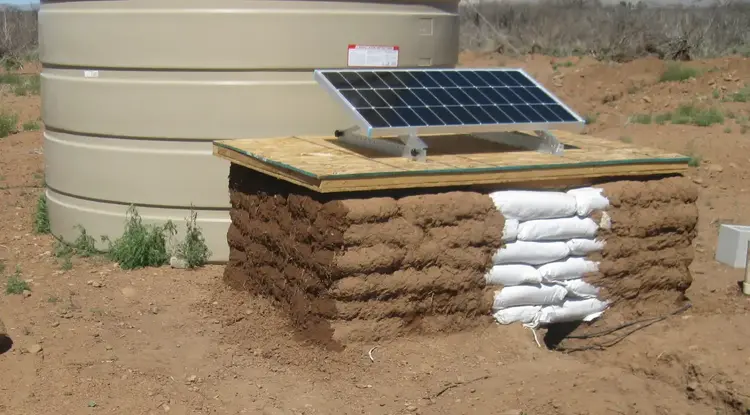
When first applying the plaster, fill in the crevices between the bags. Then apply to the rest. You'll want to have two coats. What you see in the pictures below is just one coat. I will apply a finishing coat later on.
Notes
It took the three of us about 4 or 5 hours to do the bag work. The dampening method really sped things up. It took me a few hours by myself to do the lid. Same with the plastering.
Video Summary
Tools and Materials Used:
Sandbags
Tamper
Barbed Wire
Earth (dirt)
Deck Screws
6-inch Screws
Plywood
Lumber
Shovel
Level
4" PVC
Multi-tool
Circular Saw
Miter Saw
Insulation (optional)