By Meena
 Where do I start?
While there are many blessings, there are also several challenges to meet here at our property. My mom wanted to grow some produce but we hadn't put up any fencing yet. We tried the Mittleider method and it worked nicely, but we had to compete with the night creatures, underground critters, cows, and our current arch nemesis ... javelinas. These characters fast tracked our desire to fence the whole property, but that will be the subject of a future blog post.
I had built a couple of wooden frames and bought some plastic totes to try container gardening. They were high enough that the ground creatures couldn't get to them. However, the wind blew through and knocked both of them over. In addition, the way that I had the wood pieces joined together was not sturdy enough and they had a mighty fall resulting in one of them breaking .
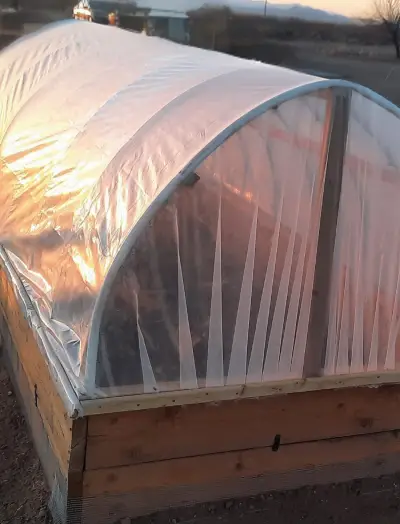
In my search for building frames for gardening, I came across several videos on how to build a hoop house for a raised bed. I thought this would be a better solution to prevent the creatures from destroying the bed from above and beneath, while allowing us to grow produce in the winter. So I decided to follow this method:
How to build a strong hinged hoop house for a raised garden bed
There, this concludes my article and you don't have to read any further. The END. (Did I already mention that I'm not a writer?)
For those who want to continue reading because you're curious as to how it turned out for me, first let me apologize. I didn't take many good pictures but I hope you still get the gist of it.
Step #1
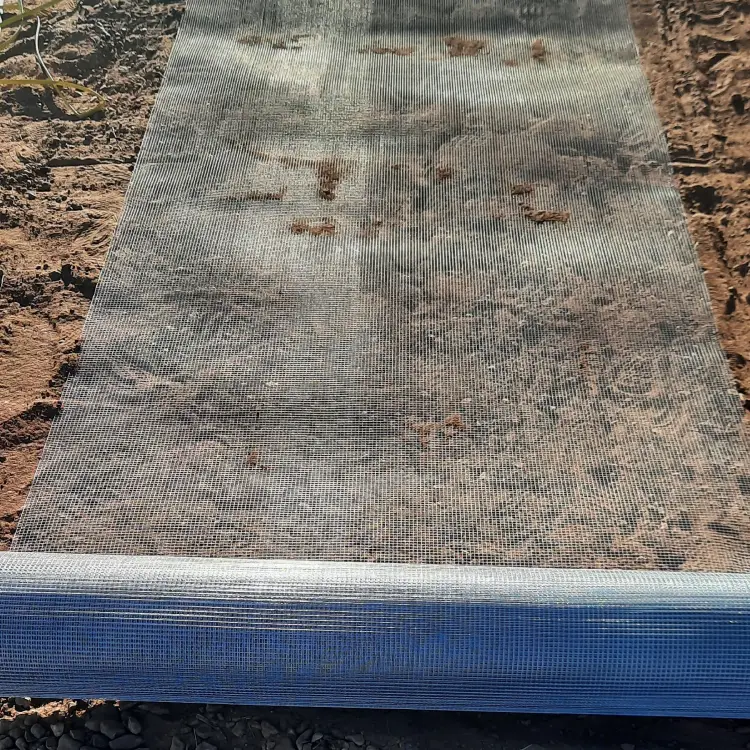
Cut the hardware cloth into two 11ft long lengths and place them on the ground. Overlap them so that they measure about 5.5ft wide. I decided to do this so the underground creatures will not get through the bed. As a result of this I decided to make a 16in raised bed to give enough space for vegetable roots.
Step #2
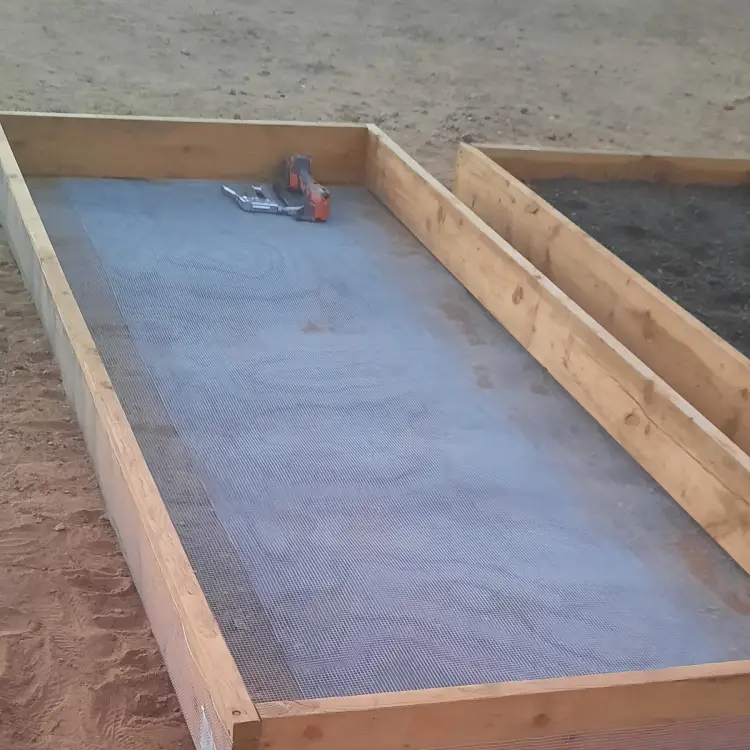
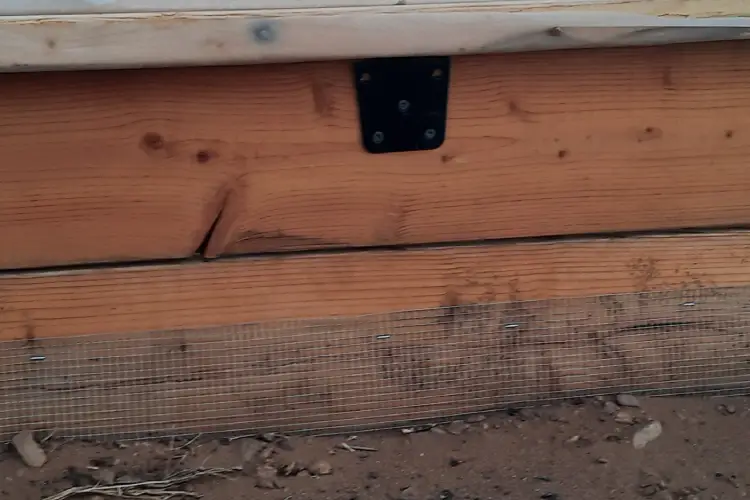
Take two 2in x 8in x 10ft lumber and cut them into four 2in x 8in x 4ft for the shorter sides of the raised bed. Place two 2in x 8in x 10ft lumber and the two cut 4ft lumber in a rectangle position and use the 3 1/2in Torx screws to join them together. Staple the excess part of the hardware cloth to the sides of the board. Repeat above first two steps and place the second rectangle bed on top. Use the two 9.5in wood straight brackets to secure the two beds.
Step #3
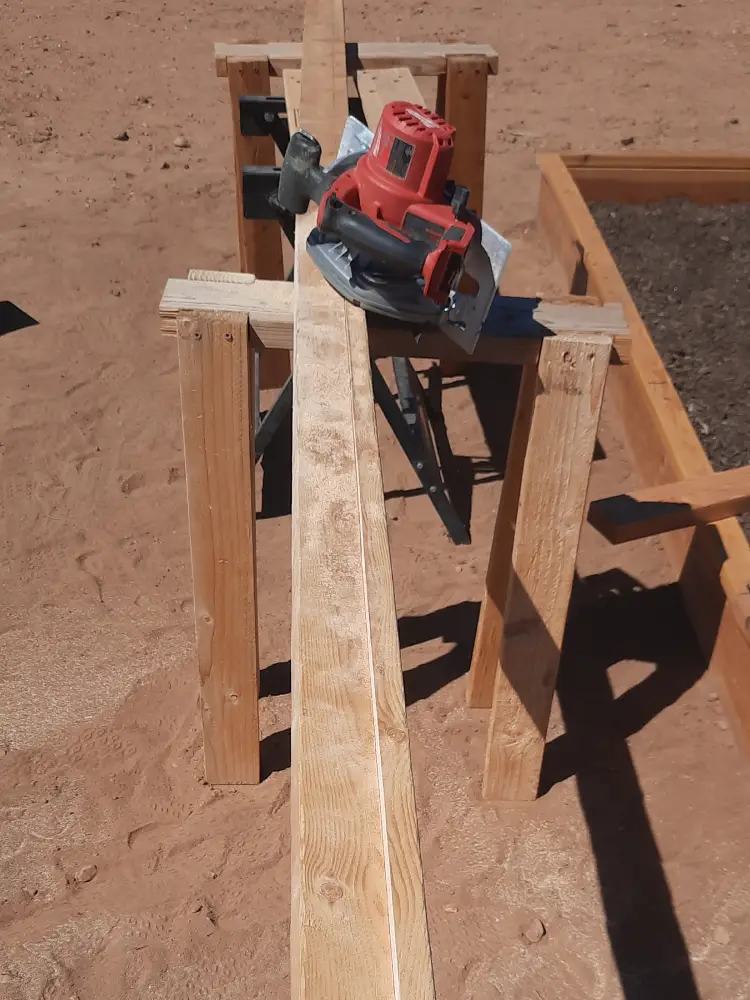
(I had two 2in x 4in x 10ft so I used the circular saw to cut each one lengthwise at the 3in mark leaving the 1in to use as the strip board for step 8). I do not recommend doing it this way but had to improvise . Cut one 2x3s to size for the shorter sides and align them or offset so there will be a lip to use to lift up the cover; use the 3 1/2in Torx screws to secure them on top of the raised bed frame. (See the video for exact steps)
Step #4
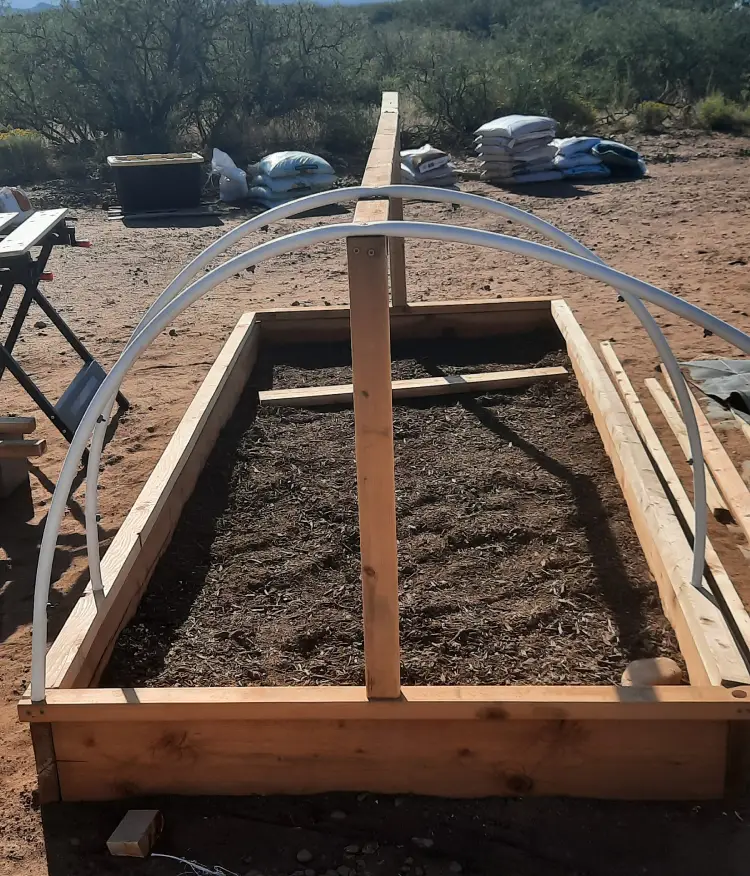
Take one 2in x 4in x 8ft and cut it into two 32in pieces. These will be placed vertically at the middle on the shorter sides of the topmost frame. Take 2in x 3in x 10ft and join it to the top of the vertical pieces using the 3 1/2in torx screws. Drill 1/2in holes on the 2x3s about 1.25in apart where the pipes will go into. I had a very long coiled up 1/2in irrigation pipe at hand so I used it to cut into eight 92in pieces. Position them over the top wood and use 1 1/4in Torx screws to secure into the wood.
Step #5
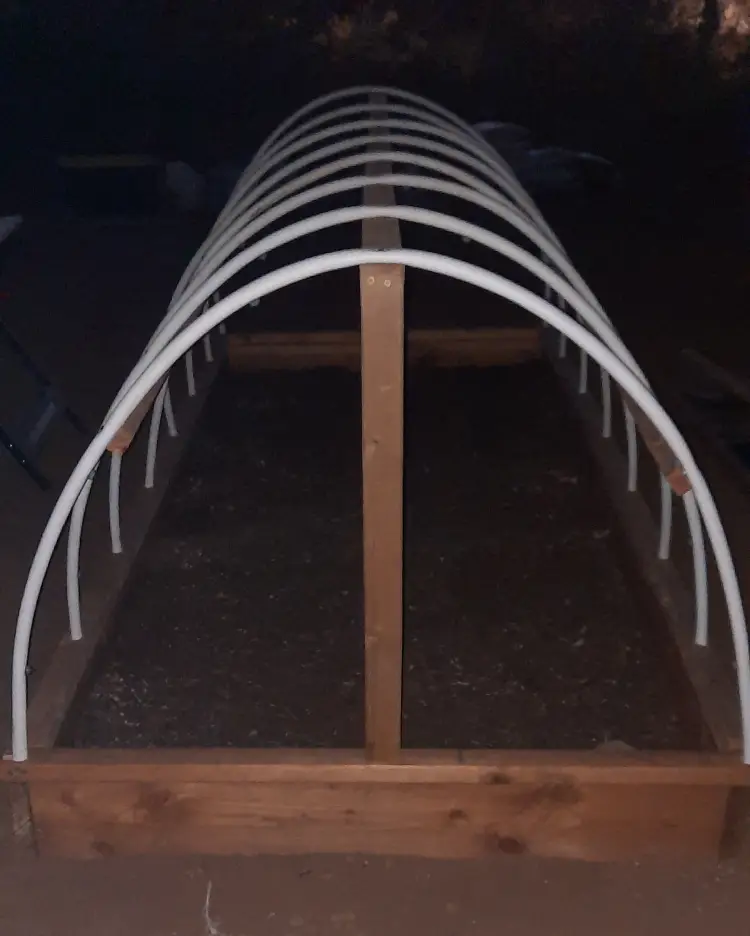
Use the two 1in x 2in x 10in remnant strip boards from step 3 and position them on sides so that the pipes have the side support before placing them into the drilled holes. Watch the video
Step #6
Secure 3 hinges on the side where the hoop cover needs to hinge
Step #7
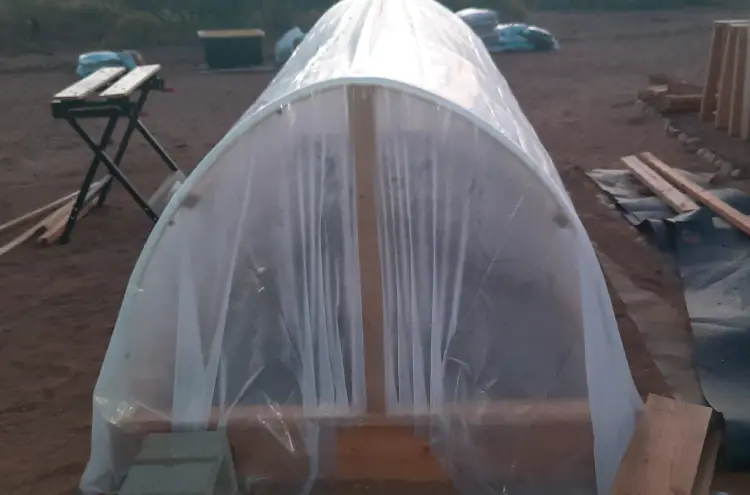
Place the Greenhouse Plastic Sheeting over the entire hoop frame and cut so that there is enough slack all around. I cut too short here and it was hard to stretch to keep the hoop cover tight (so don't be afraid to be generous).
Step #8
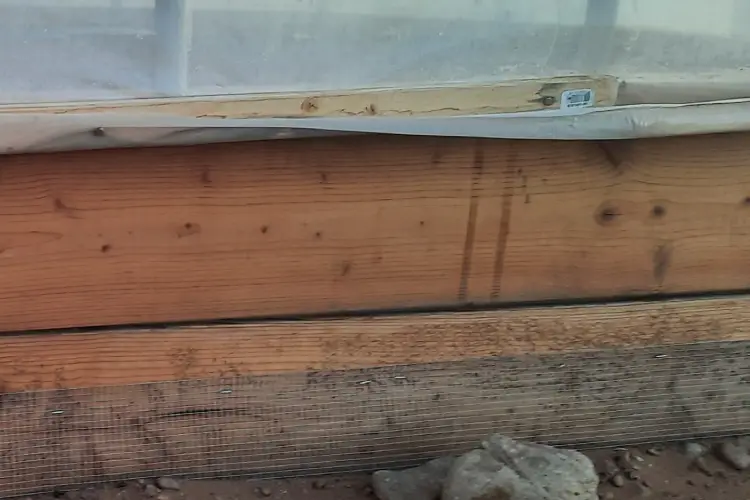
Use the five 1in x 2in x 8ft (which I bought form Ace hardware) to roll the excess plastic on the long sides and nail them using the old school galvanized nails and a handy hammer. This was really hard as I couldn't find 10ft strips so I had to use two pieces instead and roll the plastic at the same time. You will need two people for this. Maybe I should have just built a 4ft x 8ft raised bed . Lesson learned for next time.
Step #9
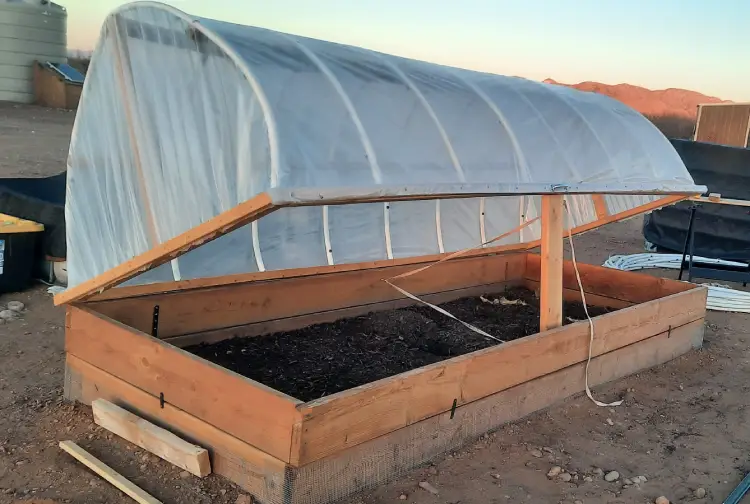
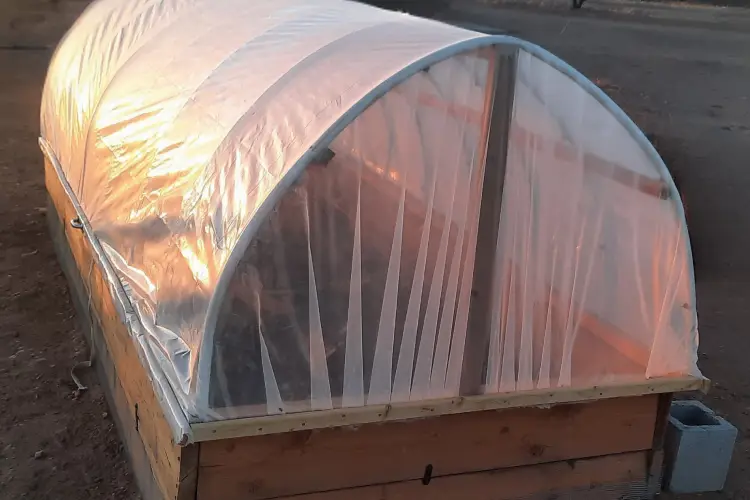
You have a finished raised bed with a hoop house! I think I will do a smaller one if there is a next time. If you have found any of the steps to be confusing, I highly encourage you to watch the excellent video I mentioned above.
Tools and Materials Used:
3 - 2in x 3in x 10ft
1 - 2in x 4in x 8ft
4 - 1in x 2in x 10ft
4 - 1in x 2in x 8ft
3 1/2in Torx screws
1 1/4in Torx screws
Galvanized nails
Manual Staple gun
Circular saw
Saw Horse
Drill, Torx (T25) drill bit, and 1/2in spade drill bit
Hammer
3 - Hinges 3-1/2in Heavy Duty Gate Hinges, Black
2 - Iron Door Hinges with Screws