By Ally
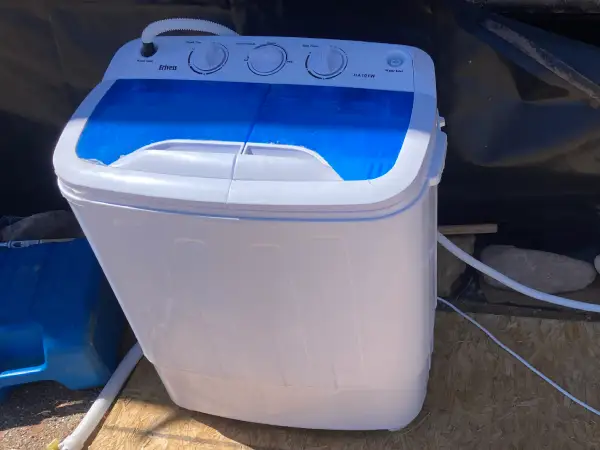
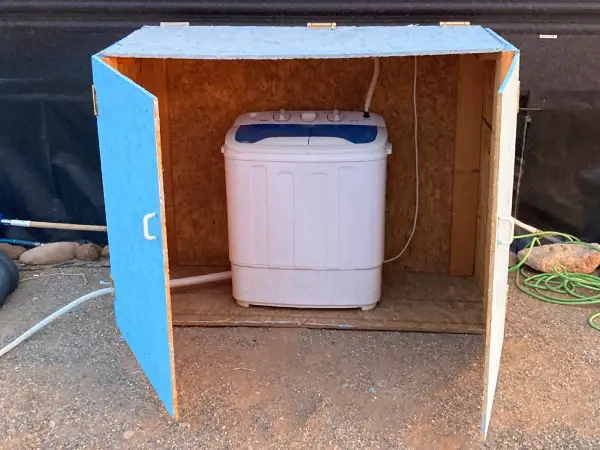
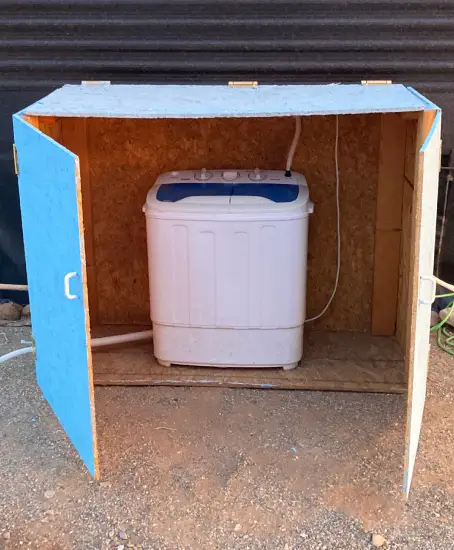 In a previous article we all shared about how we do laundry out here on the homestead. We were the only ones who didn't have room for our portable washer inside our RV, so we had it placed out back near the clothesline.
While I don't think there were any issues with it getting wet, the constant heat from the sun was certainly going to reduce the lifespan, at least cosmetically.
With that in mind I decided to build a home for the washer/spinner.
Step 1: Measure, Cut and Assemble Base, Sides, Back and Lid
Initially I was not sure if I was going to add doors as I thought the sides, back and lid would keep it sufficiently covered from the sun and intense wind/rain - so I did not measure & cut those at the beginning. While you can certainly use a better type of wood, especially if it was something big enough to walk inside, I just decided to use the simple & more affordable OSB plywood for this -project.
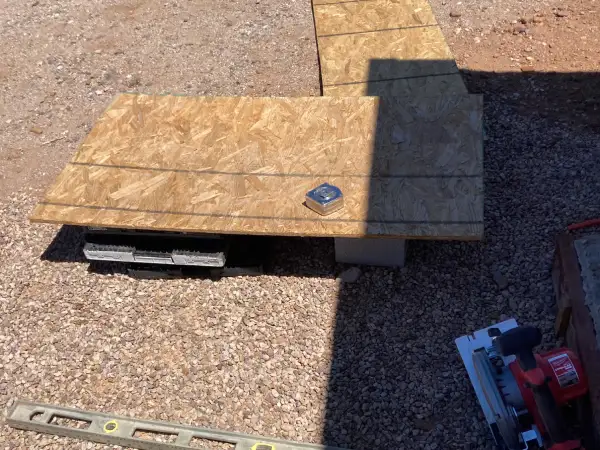
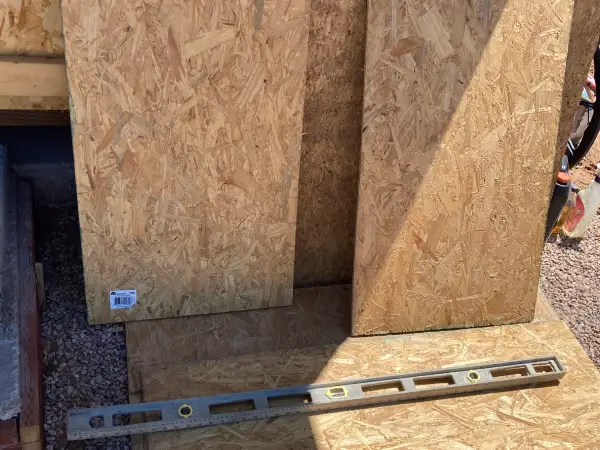
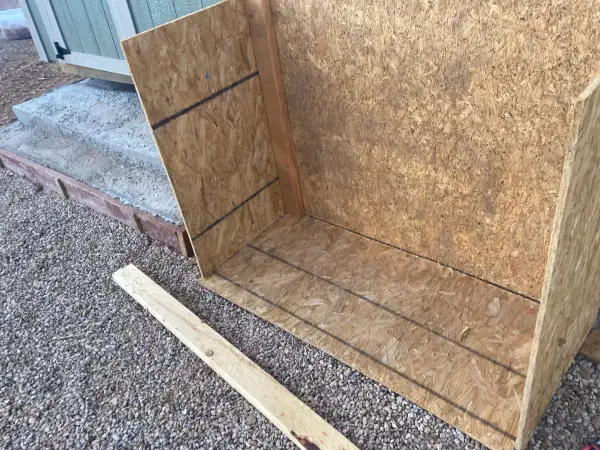
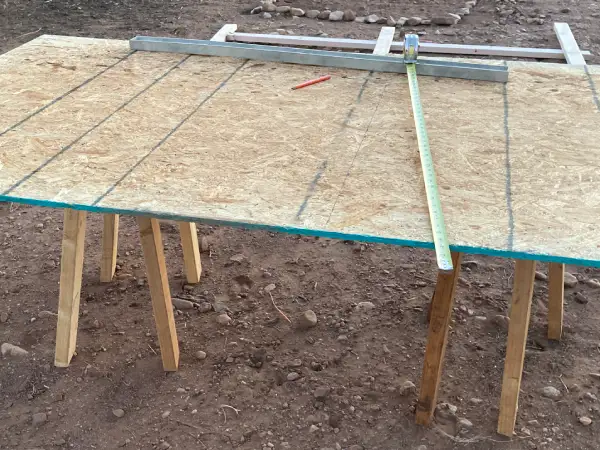
Using the circular saw and the handy sawhorses (see previous article to make these), I measured out the dimensions for the laundry house and cut the pieces, making them big enough to leave some extra room in the front and on both sides - for laundry soap etc. storage. Then I cut four 2x4's to the same height of sides and attached the back and sides together with my impact drill and added two at the front that would be needed once I decided on the importance of doors.
Using the circular saw and the handy sawhorses (see previous article to make these), I measured out the dimensions for the laundry house and cut the pieces, making them big enough to leave some extra room in the front and on both sides - for laundry soap etc. storage. Then I cut four 2x4's to the same height of sides and attached the back and sides together with my impact drill and added two at the front that would be needed once I decided on the importance of doors.
Step 2: Attach Lid
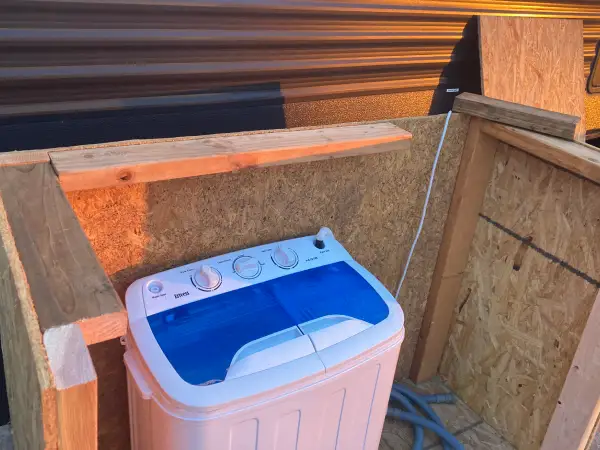
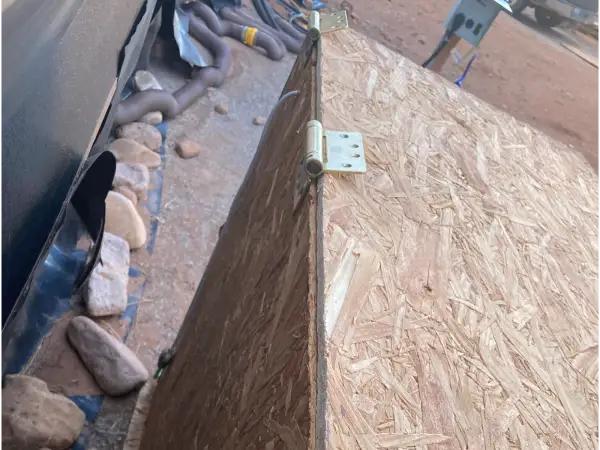
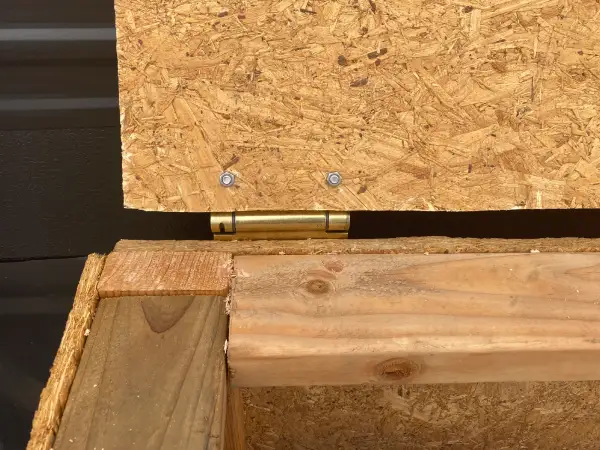
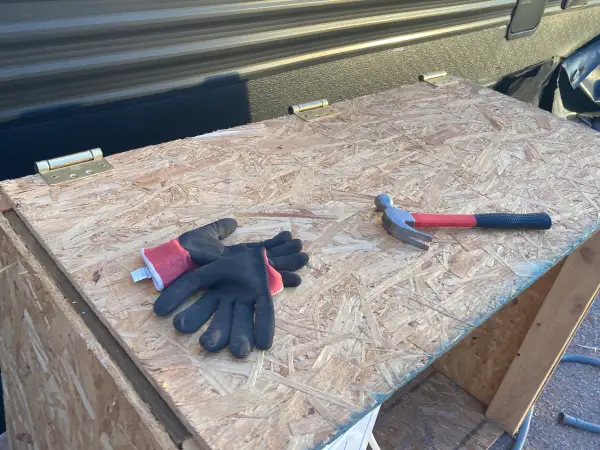
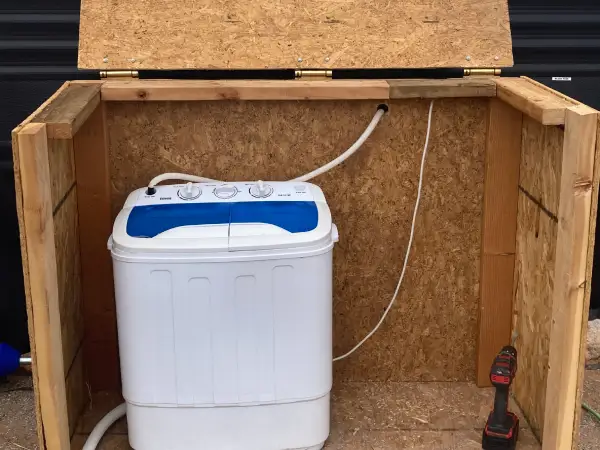
Next I measured out the dimensions for the lid of the laundry house. I attached 2x4's around the top rim not only for support when attaching the lid, but it also gives a nice little shelf when the top is open :) To make sure it was secure enough I ended up using 3 brass hinges to attach the lid, also made of OSB plywood. Since the laundry house is right next to our RV we can lift the lid up to lean on the RV giving it some additional support. To attach the lid I had to drill holes in the wood and then use screws, otherwise the lid would not lift up since wood is not flexible ;) I then had to drill shallow holes in the 2x4 shelf for the screw tips to go into which would otherwise prevent it from closing all the way.
Step 3: Measure, Cut and Attach Doors
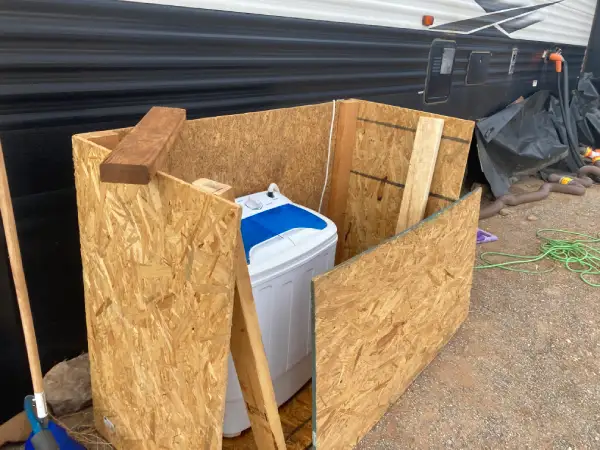
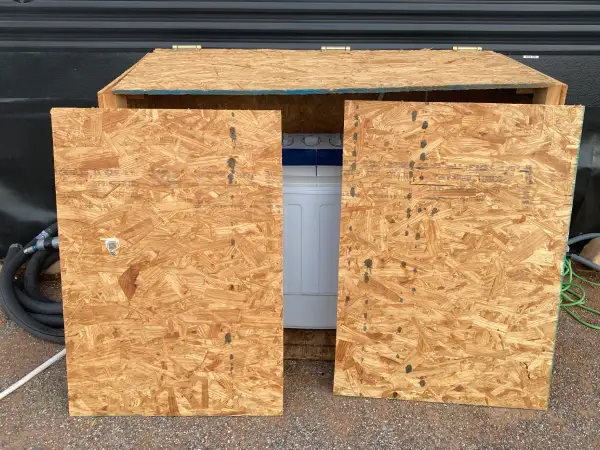
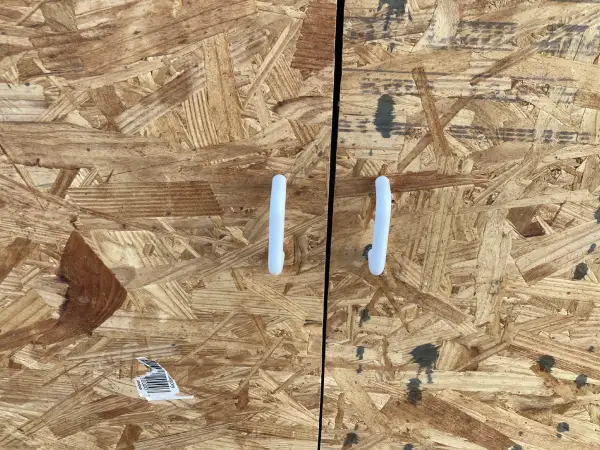
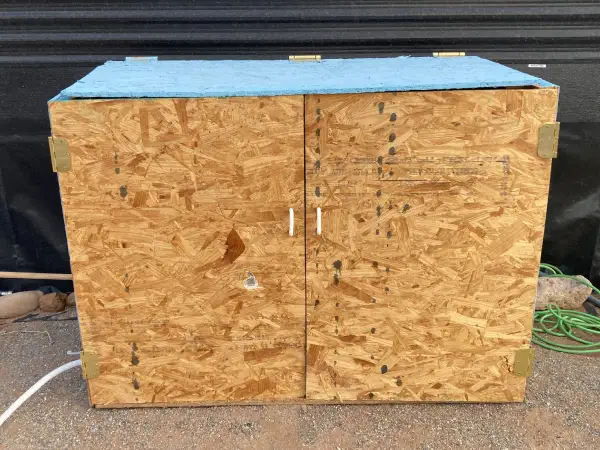
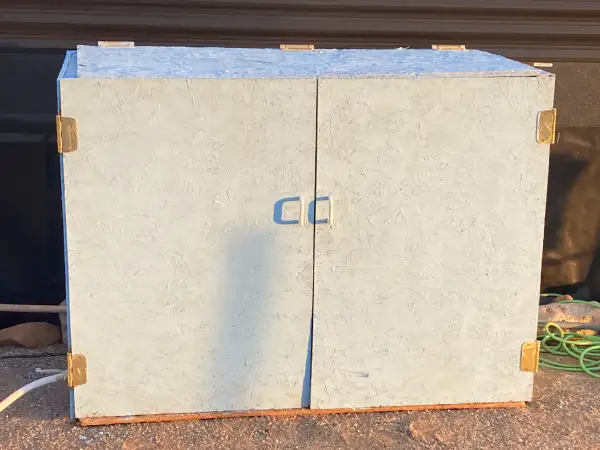
I decided to add doors because I thought they would look nice and keep the house protected from any creatures making their way in to try and live there without paying rent. The doors were by far the trickiest part of this. The biggest challenge was that the ground is not flat, and so it was difficult to measure the doors out because with any slight movement of the house they would change. I had to go back several times to re-cut the doors, and even once finished I am not 100% satisfied. I also added the door handles - measuring by eye, and this also took many tries that could have been prevented just by correctly measuring both sides.
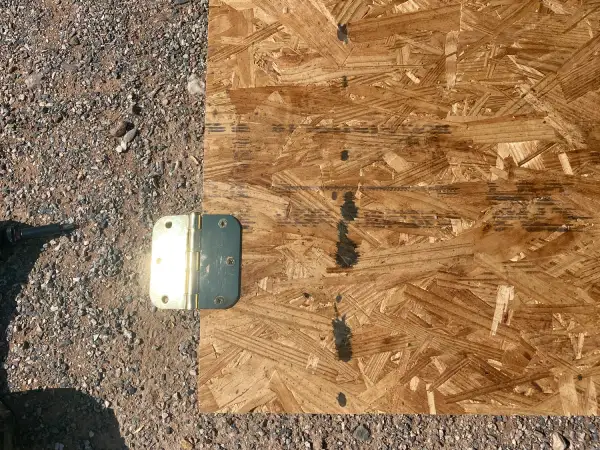
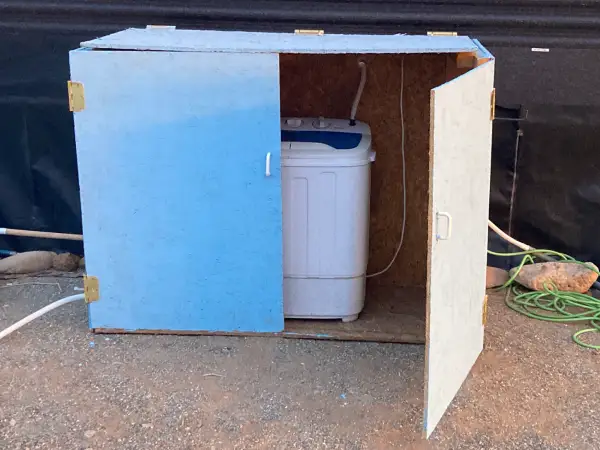
To attach the doors I used 2 brass hinges on each side. While they screwed in fine, lining up the doors without them being off balance indeed proved a challenge with the instability of the ground. Another thing that added to this is that the house is sitting on the plywood base and not attached to it. I thought it would be easier to move around this way, but once it's at a permanent location, if it lasts that long, I will connect them together.
To attach the doors I used 2 brass hinges on each side. While they screwed in fine, lining up the doors without them being off balance indeed proved a challenge with the instability of the ground. Another thing that added to this is that the house is sitting on the plywood base and not attached to it. I thought it would be easier to move around this way, but once it's at a permanent location, if it lasts that long, I will connect them together.
Step 4: Paint House and Drill Access Holes
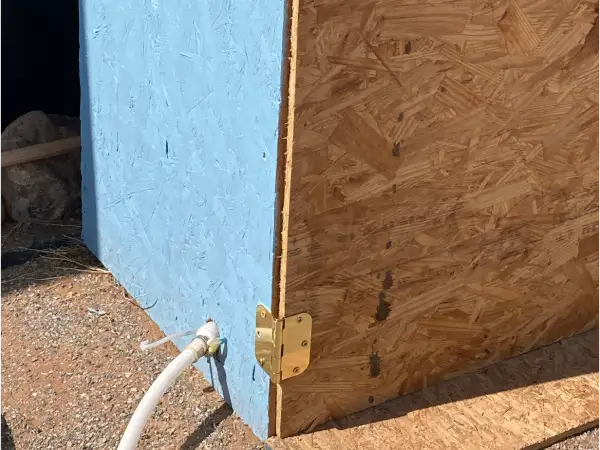
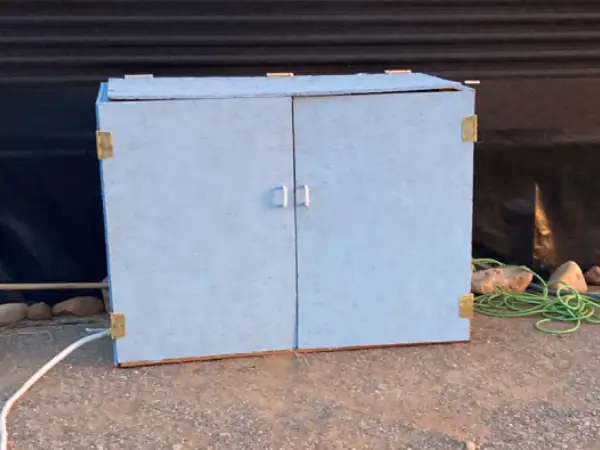
The final touch that I decided to add, to make the house look nice and to help protect the wood, was to paint it. I chose the blue in the pictures because we had some extra paint left from a larger shed that was built and painted. I also drilled holes in the back panel and on the side for the hoses that drain and connect to the water source. I also added a hook on the side where I could wrap up the water connection hose when it was not in use.
The Conclusion of the Matter
Overall I deem the project a success. Now the laundry house is protected, it looks better out back and I learned many things in the process - several "what to do differently" next time. Some of the issues would have been solved if the ground was flat and balanced. Alas, this was not to be a professional laundry house, but simply something to add a layer of protection from the forces and larger creatures out there, and for that I think it serves its purpose.